
Technical Guide
Monitoring Office Power & WiFi
Implementation of Continuous Monitoring and Notification System for Power and Network Outages
Objectives:
Maintain WiFi connectivity during power outages to ensure uninterrupted operation of battery-powered security cameras and smart devices.
Implement immediate notification system for power outages.
Establish alerts for WiFi disruptions, including scenarios where the Uninterruptible Power Supply (UPS) for the WiFi router depletes (typically 1-2 hours), or in cases of ISP/WiFi issues.
Note: If opting out of the UPS, the setup requires only one Raspberry Pi. However, this configuration will only provide notifications when both power and WiFi are simultaneously disrupted.
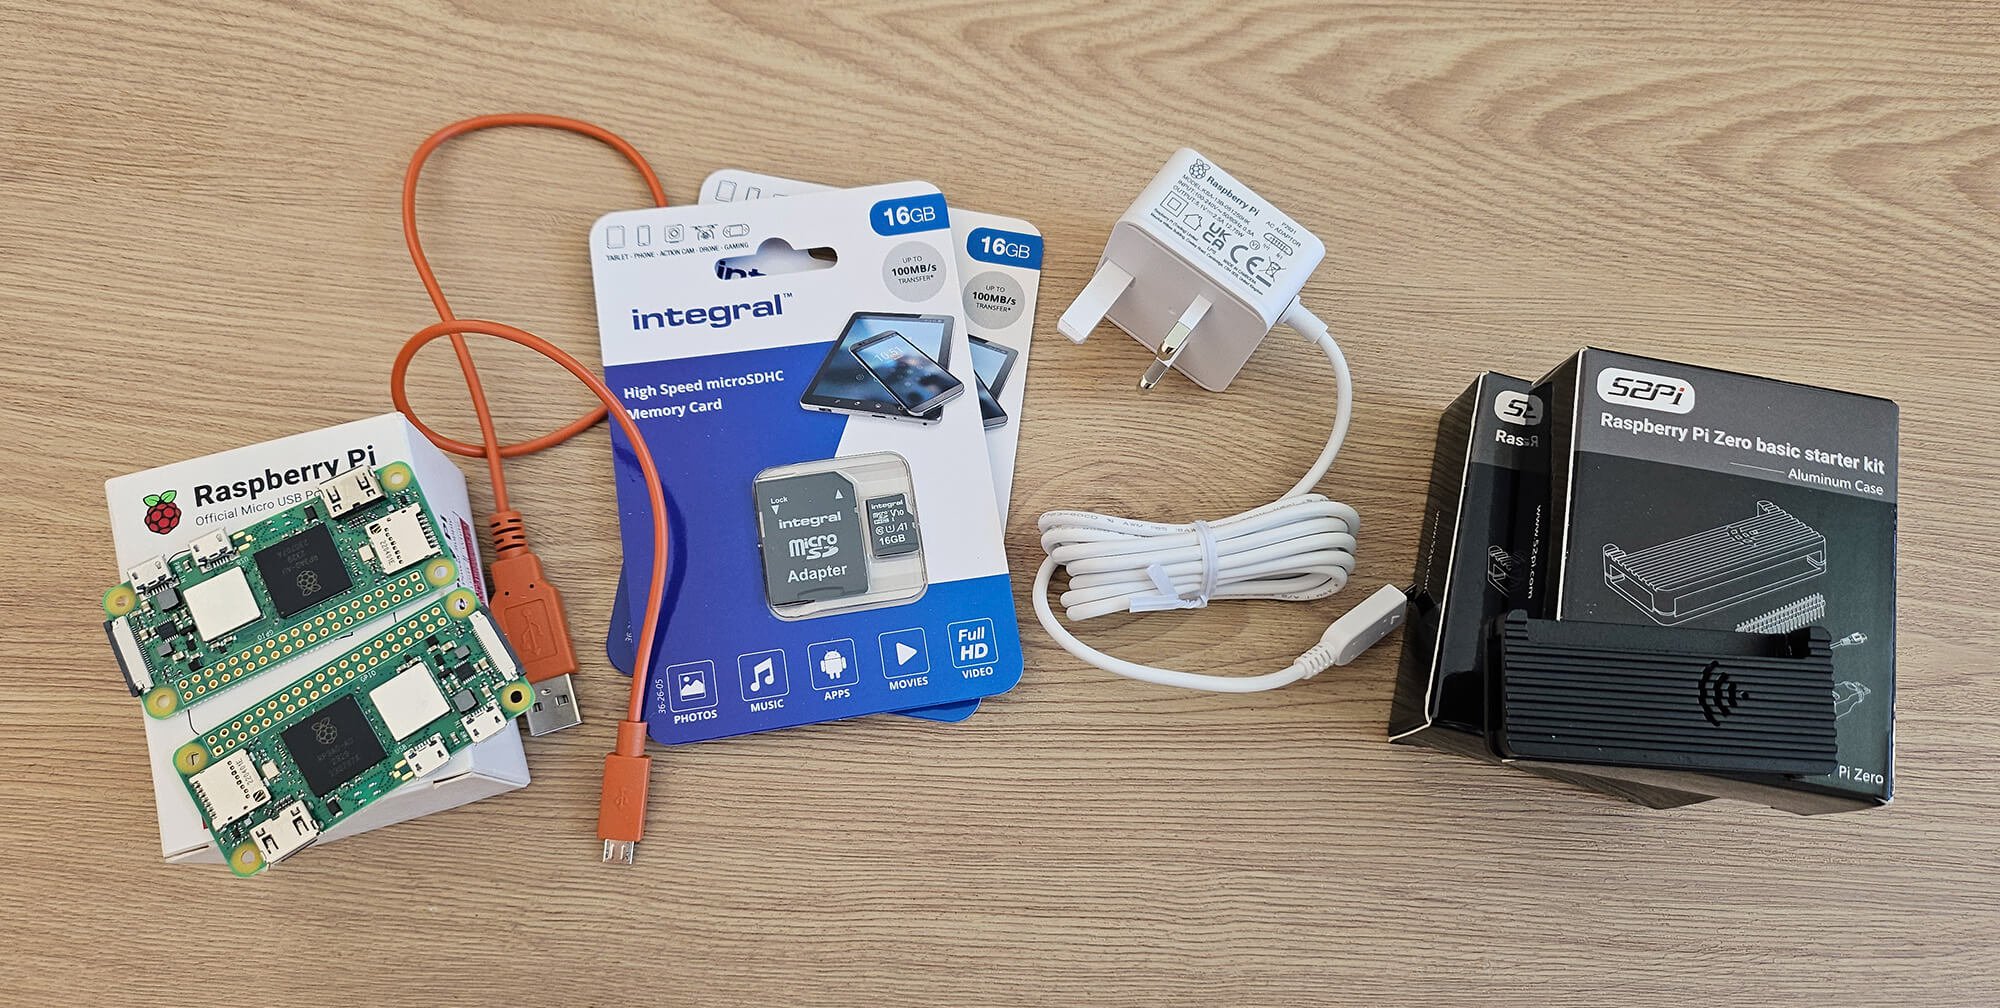
Required Equipment:
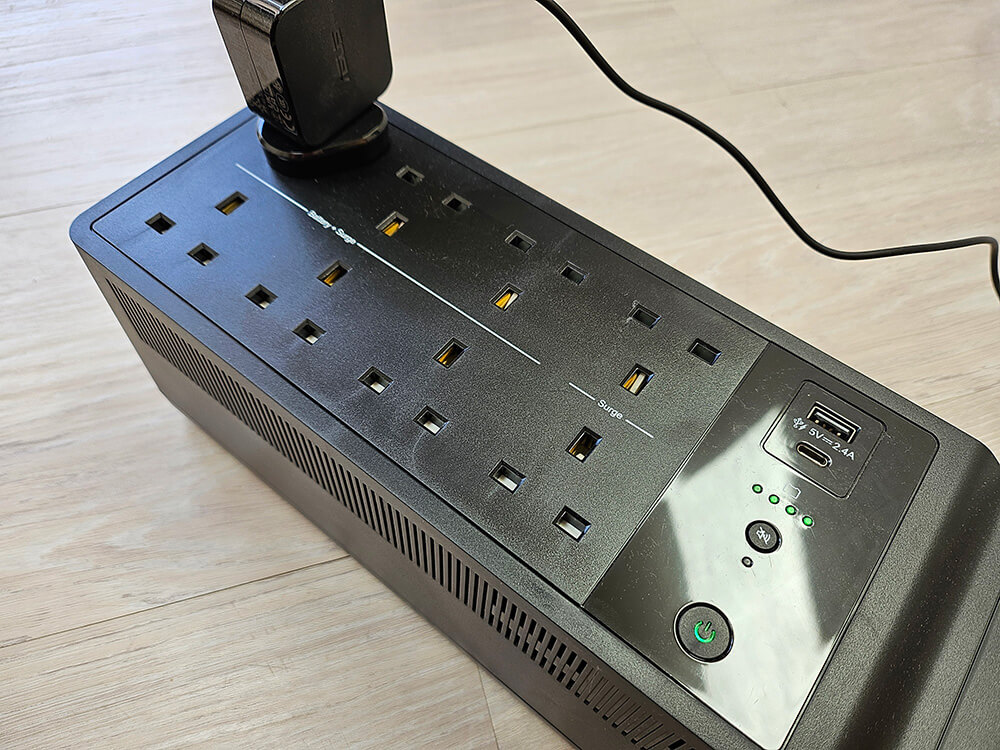
Uninterruptible Power Supply (UPS) - Budget: up to £150 (Recommended model: APC BE850G2-UK or equivalent)
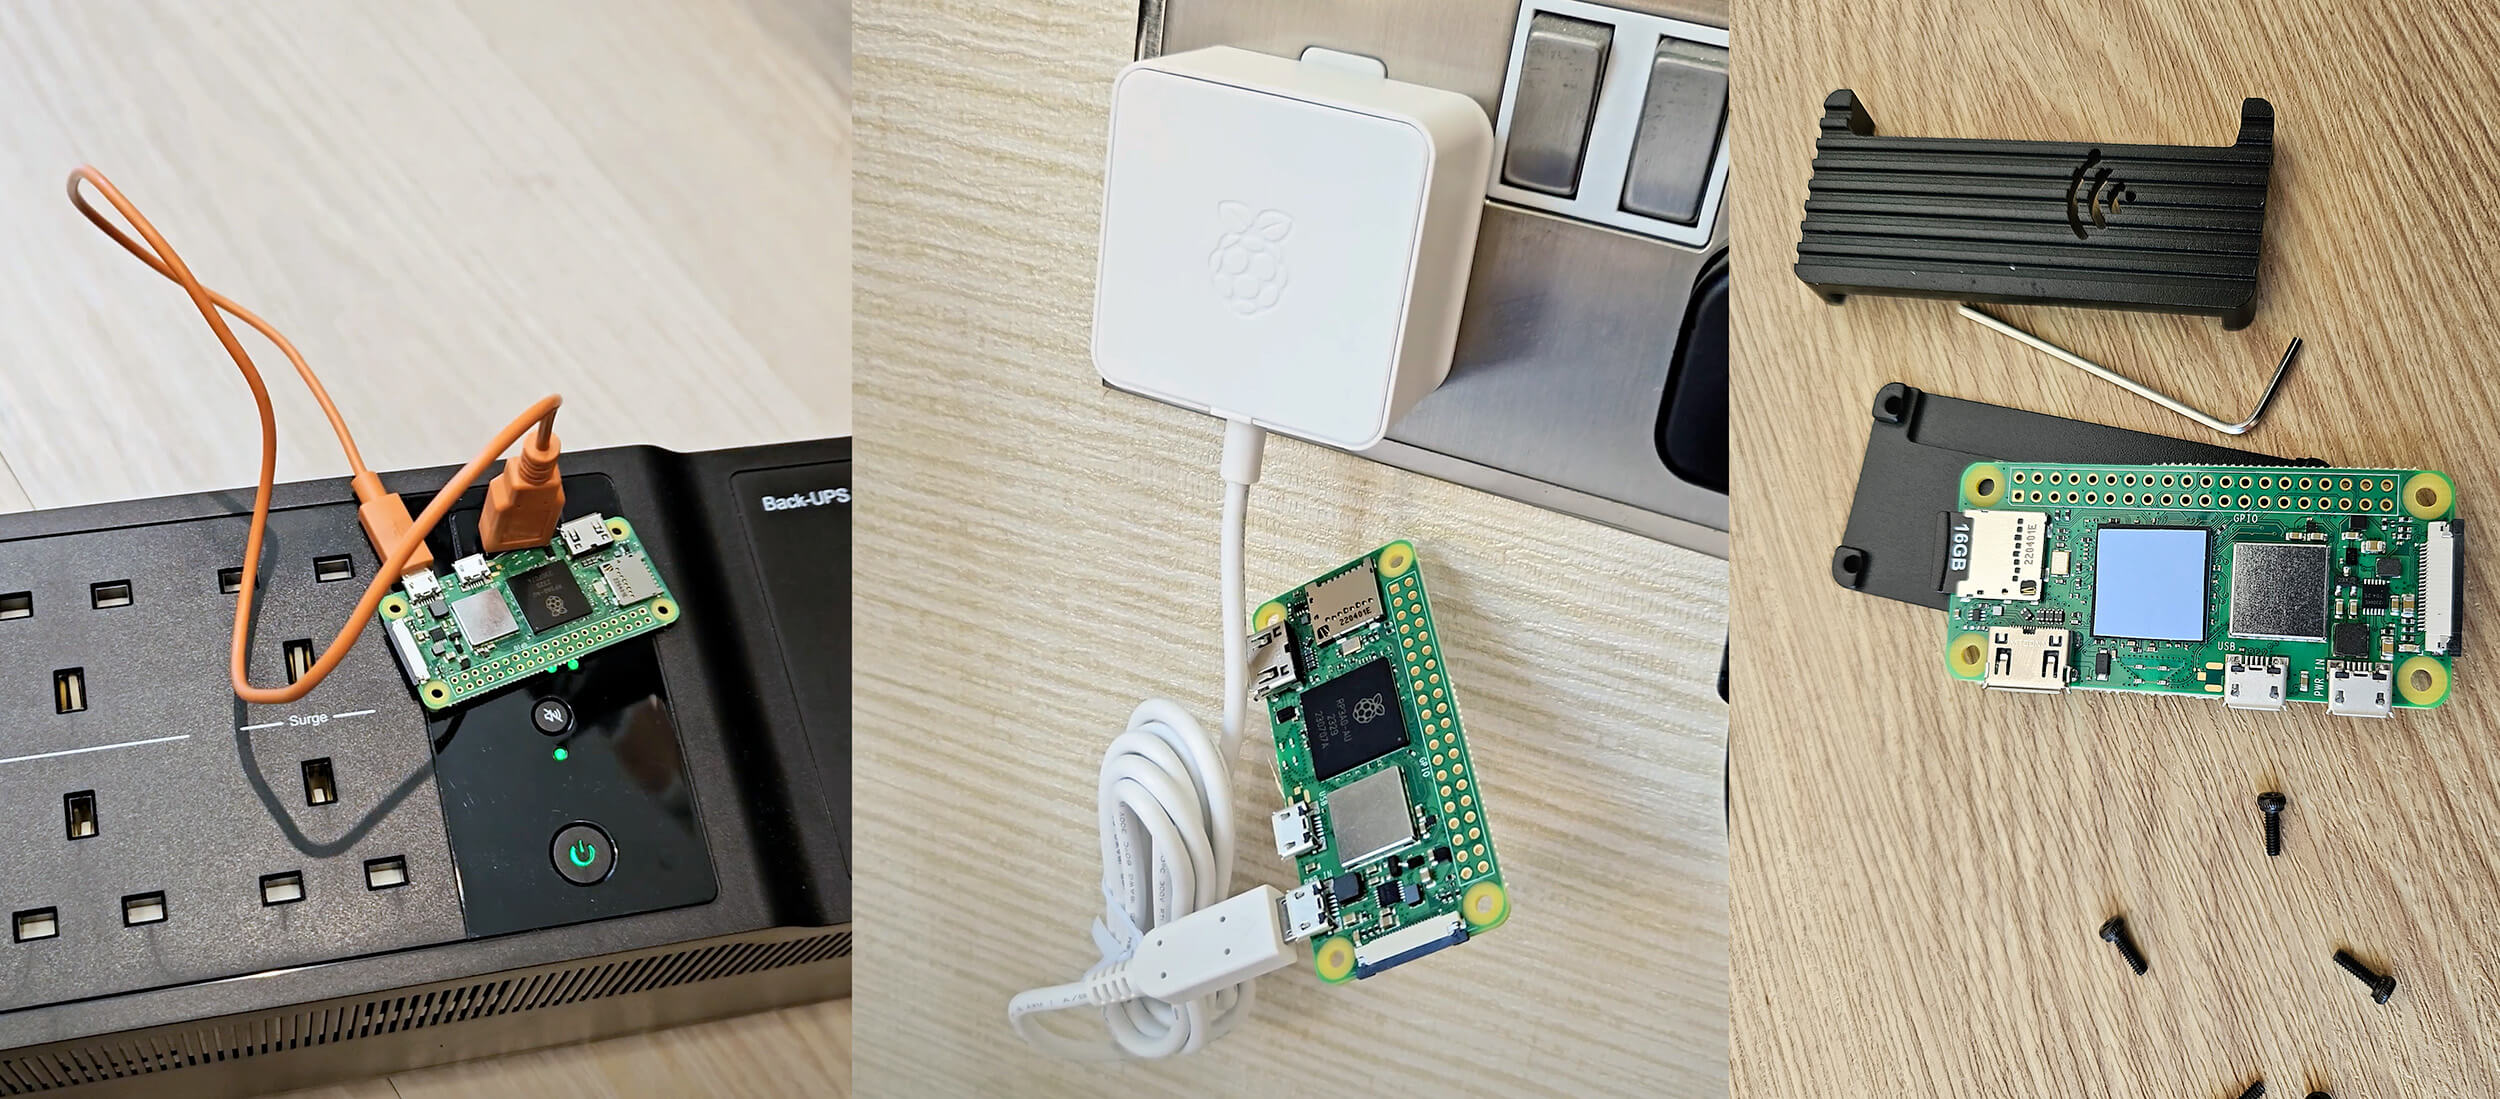
2x Raspberry Pi Zero 2 W - Approximate cost: £20 per unit
2x 16 GB MicroSD cards - Approximate cost: £5 per unit
1x MicroUSB cable
1x MicroUSB cable with power adapter
Optional: 2x protective cases for Raspberry Pi units - Approximate cost: £10 per unit
Raspberry Pi Configuration (Dual Unit Setup)
Insert the MicroSD card into your computer.
Utilise the Raspberry Pi Imager to install Raspberry Pi OS.
Launch Raspberry Pi Imager and select the appropriate version for your Raspberry Pi model. Choose Raspberry Pi OS (64-bit) and select your MicroSD card.
After clicking "NEXT", select "EDIT SETTINGS". Establish a username and password for future reference. Input your office WiFi credentials.
Upon completion of the installation, remove the MicroSD card and insert it into the Raspberry Pi unit.
Repeat this process for both Raspberry Pi units. Connect one unit to the UPS and the other directly to a wall outlet.
Establishing SSH Connection to Raspberry Pi
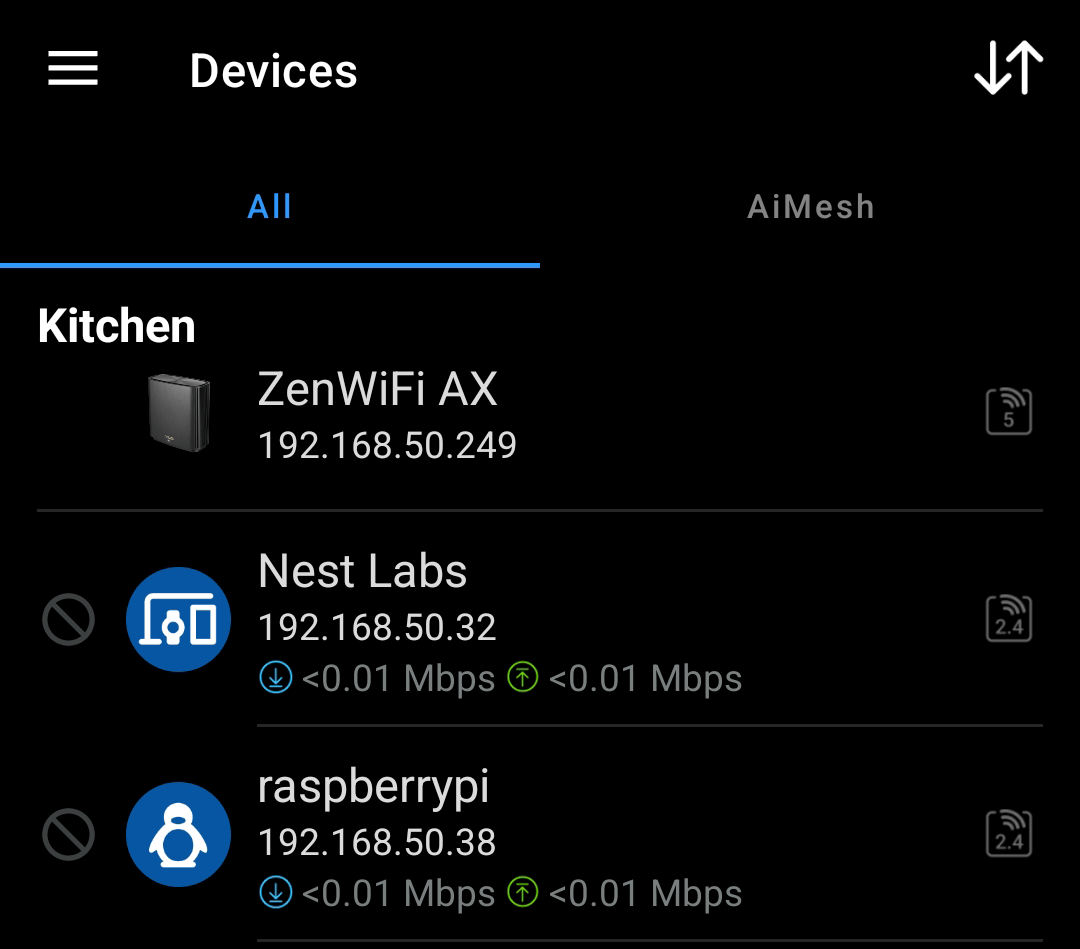
Locate the local IP address of the Raspberry Pi by accessing your router's connected devices list. The IP address typically follows the format 192.168.X.X. Reference the screenshot below for an example using the ASUS Router application:
On a Mac, open Terminal; on Windows, open PowerShell. Enter the SSH command using your predetermined username and the Raspberry Pi's IP address:
ssh username@192.168.X.XWhen prompted, enter the password you established during setup. Upon successful authentication, you will be connected to the Raspberry Pi.
Configuring Heartbeat Monitoring System
Create an account or sign in to your existing Raq.com account.
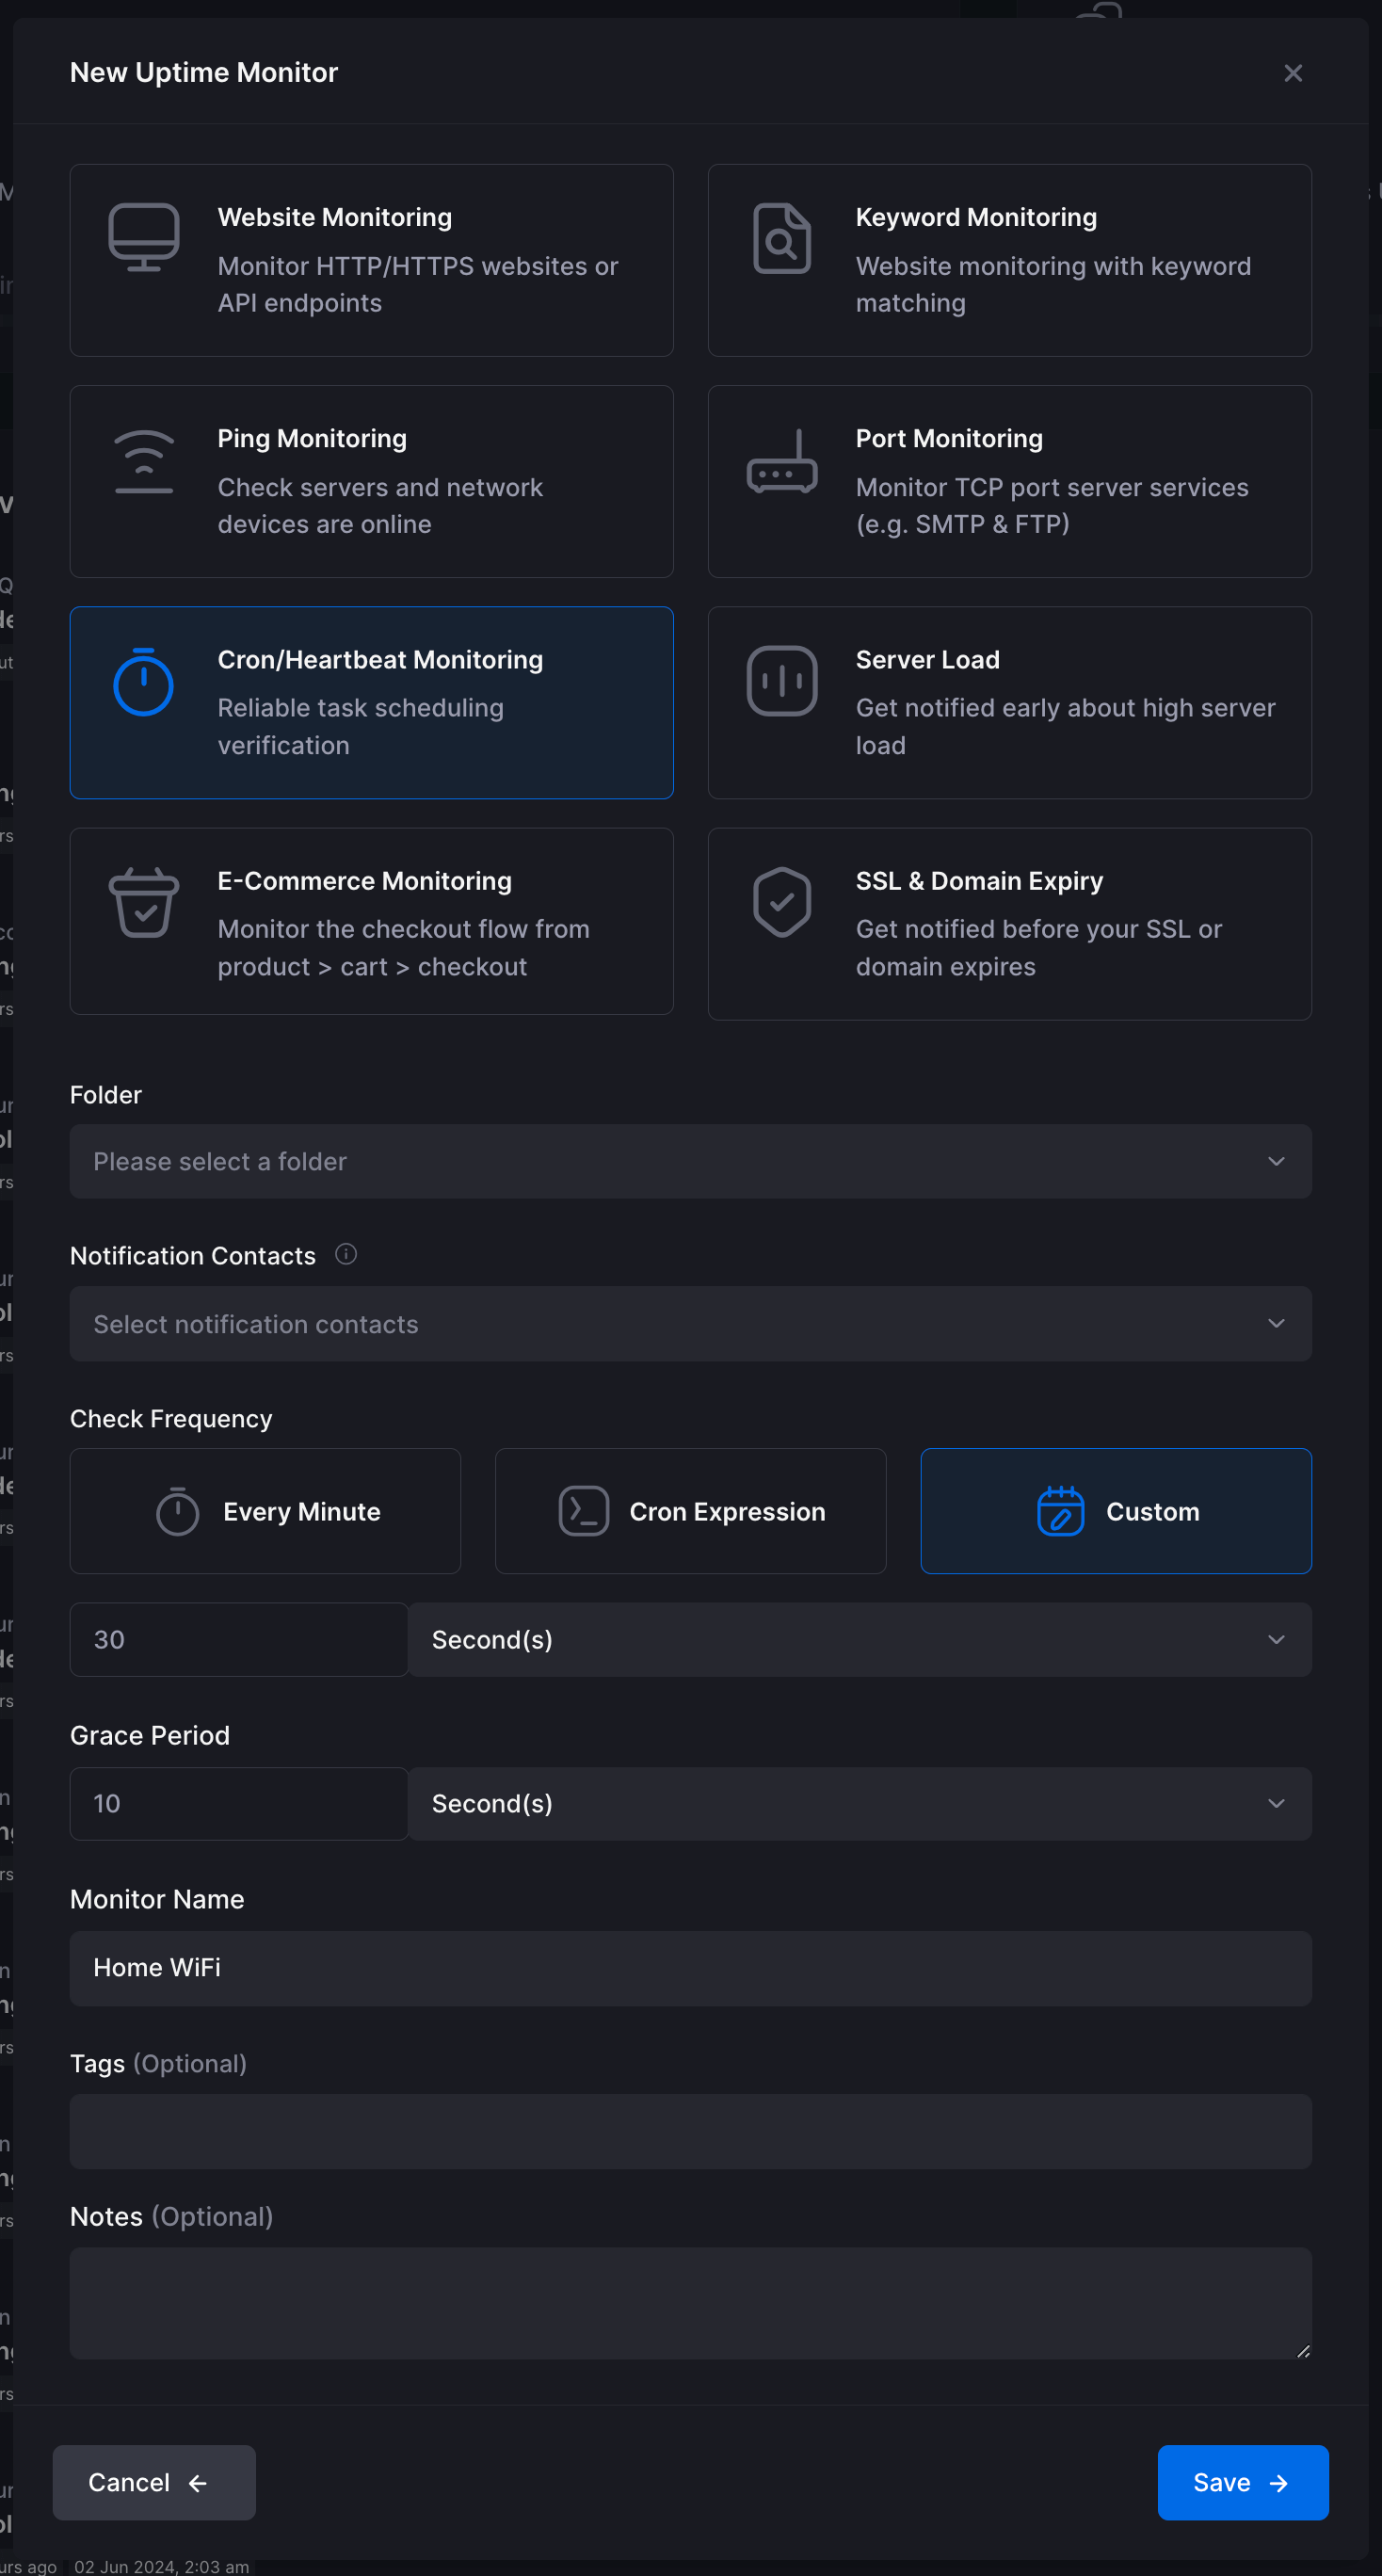
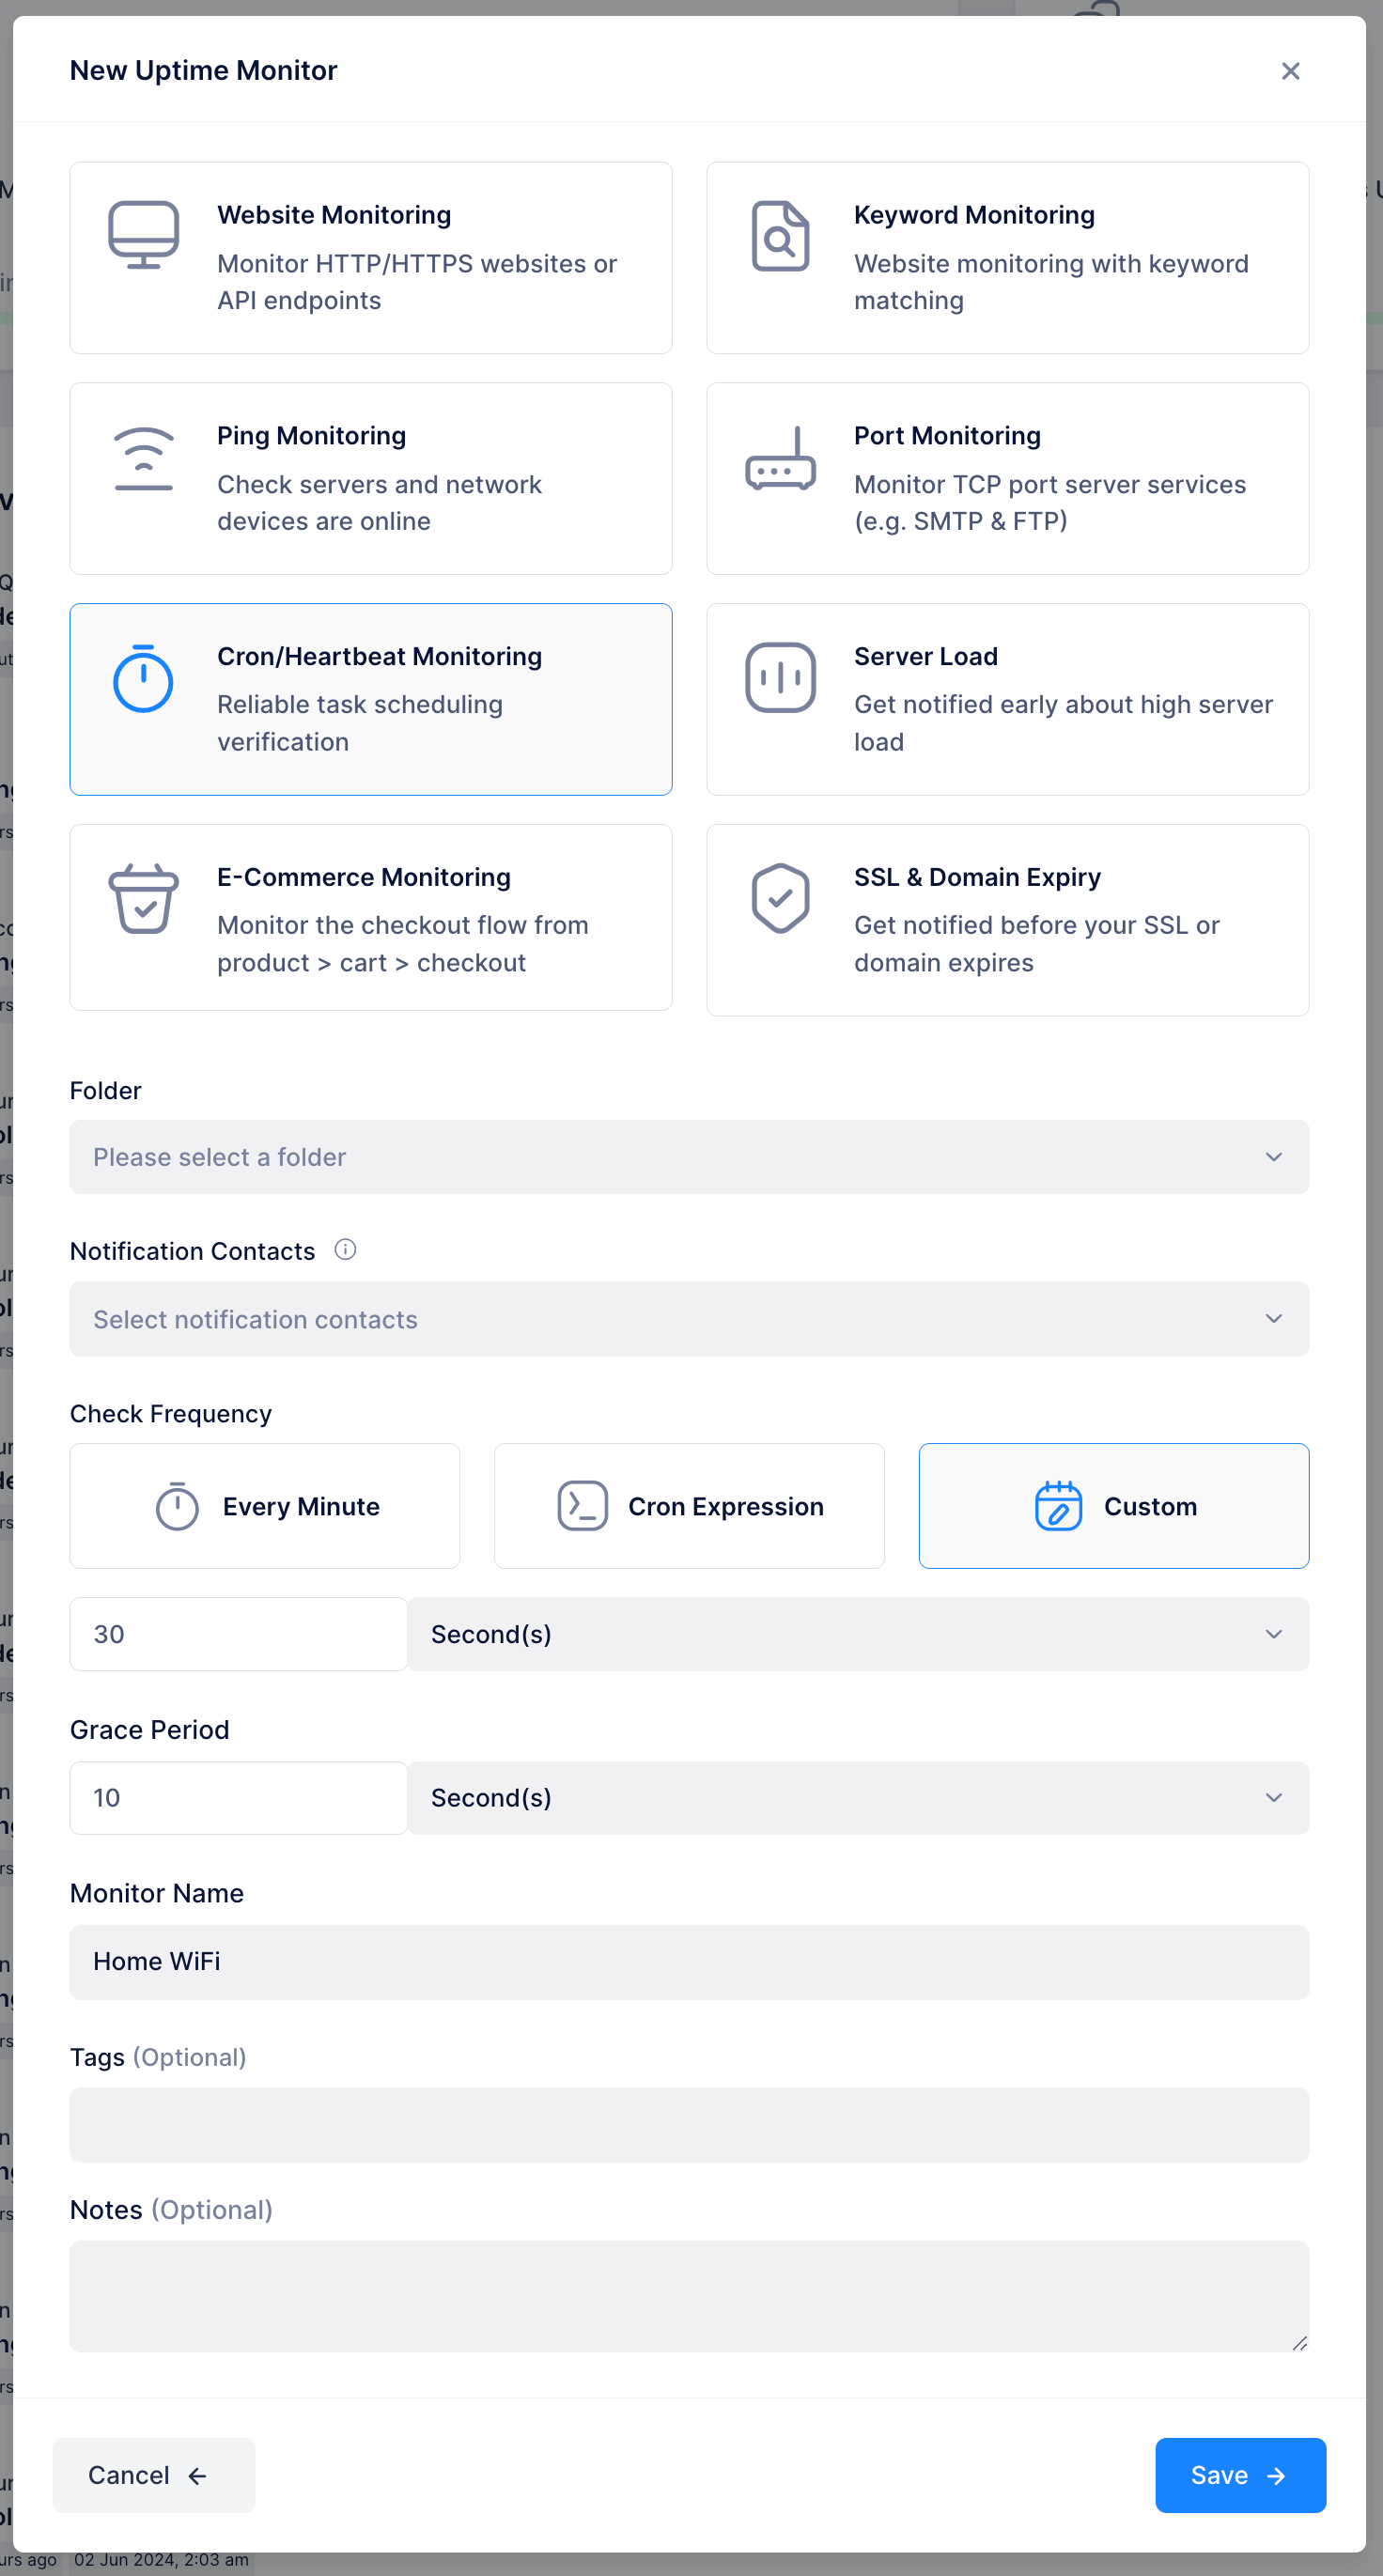
Initiate a new Uptime Monitor by selecting "Heartbeat Monitor". Name it "Office WiFi" for the Raspberry Pi connected to the UPS, or "Office Power" for the unit plugged directly into the wall. Configure the monitor with a 30-second interval and a 10-second grace period. Adjust the grace period as needed to manage brief outage notifications.
Execute the following command in your terminal:
read -p "Enter the Raq.com Heartbeat URL: " ping_url && echo -e '#!/bin/bash\n\nwhile true; do\n curl -I '"$ping_url"'\n sleep 30\ndone' > ~/ping.sh && chmod +x ~/ping.sh && echo -e '[Unit]\nDescription=Ping URL\nAfter=network.target\n\n[Service]\nType=simple\nExecStart=/bin/bash '"$HOME"'/ping.sh\n\n[Install]\nWantedBy=multi-user.target' | sudo tee /etc/systemd/system/pingraqcom.service > /dev/null && sudo systemctl daemon-reload && sudo systemctl enable pingraqcom.service && sudo systemctl start pingraqcom.service && sudo systemctl status pingraqcom.service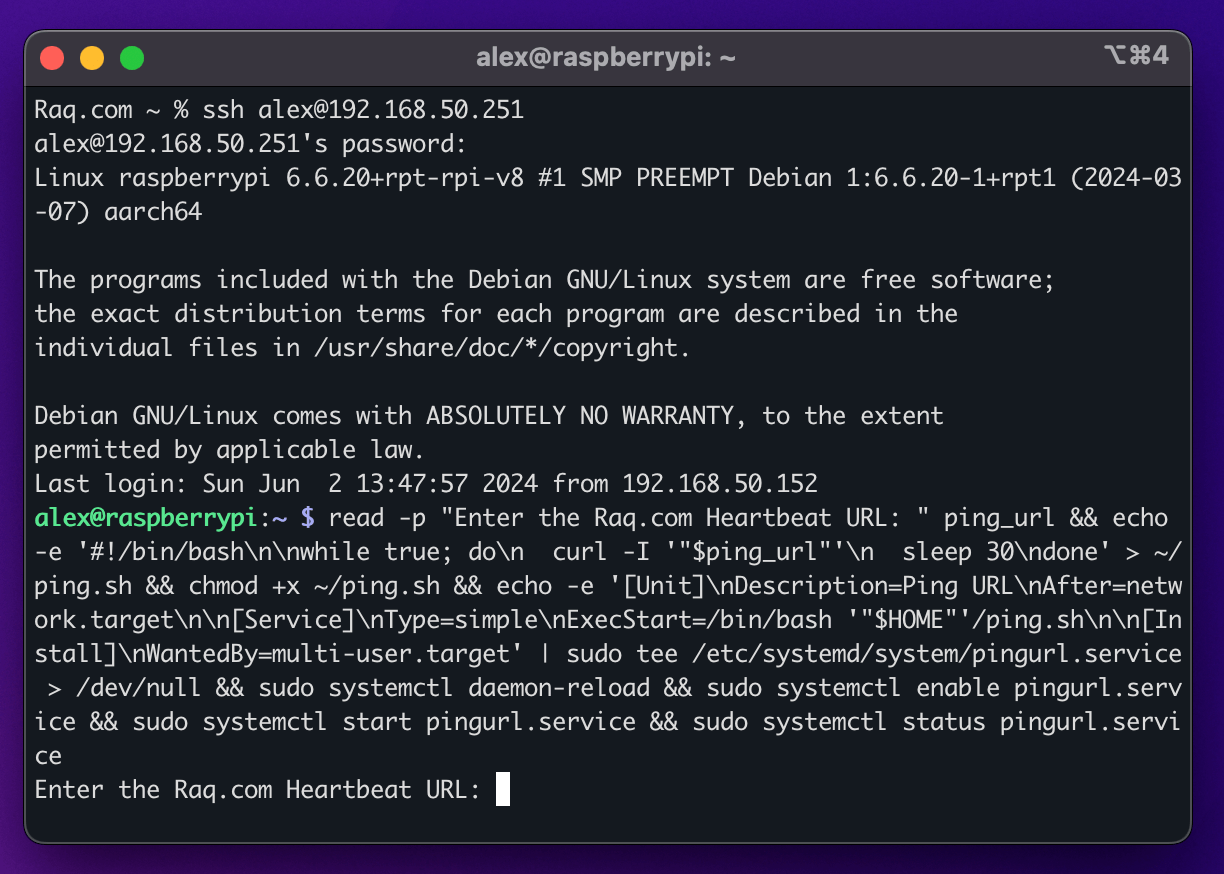
When prompted, enter the Heartbeat URL provided in your account (format: https://raq.com/heartbeat/439fa4894f67be20cb18c1640009c526).
This command installs a service that pings the Raq.com Heartbeat URL at 30-second intervals. If the URL becomes unreachable, you will receive a prompt notification. In the event of a power loss to the Raspberry Pi, the pinging service will automatically resume upon reboot.
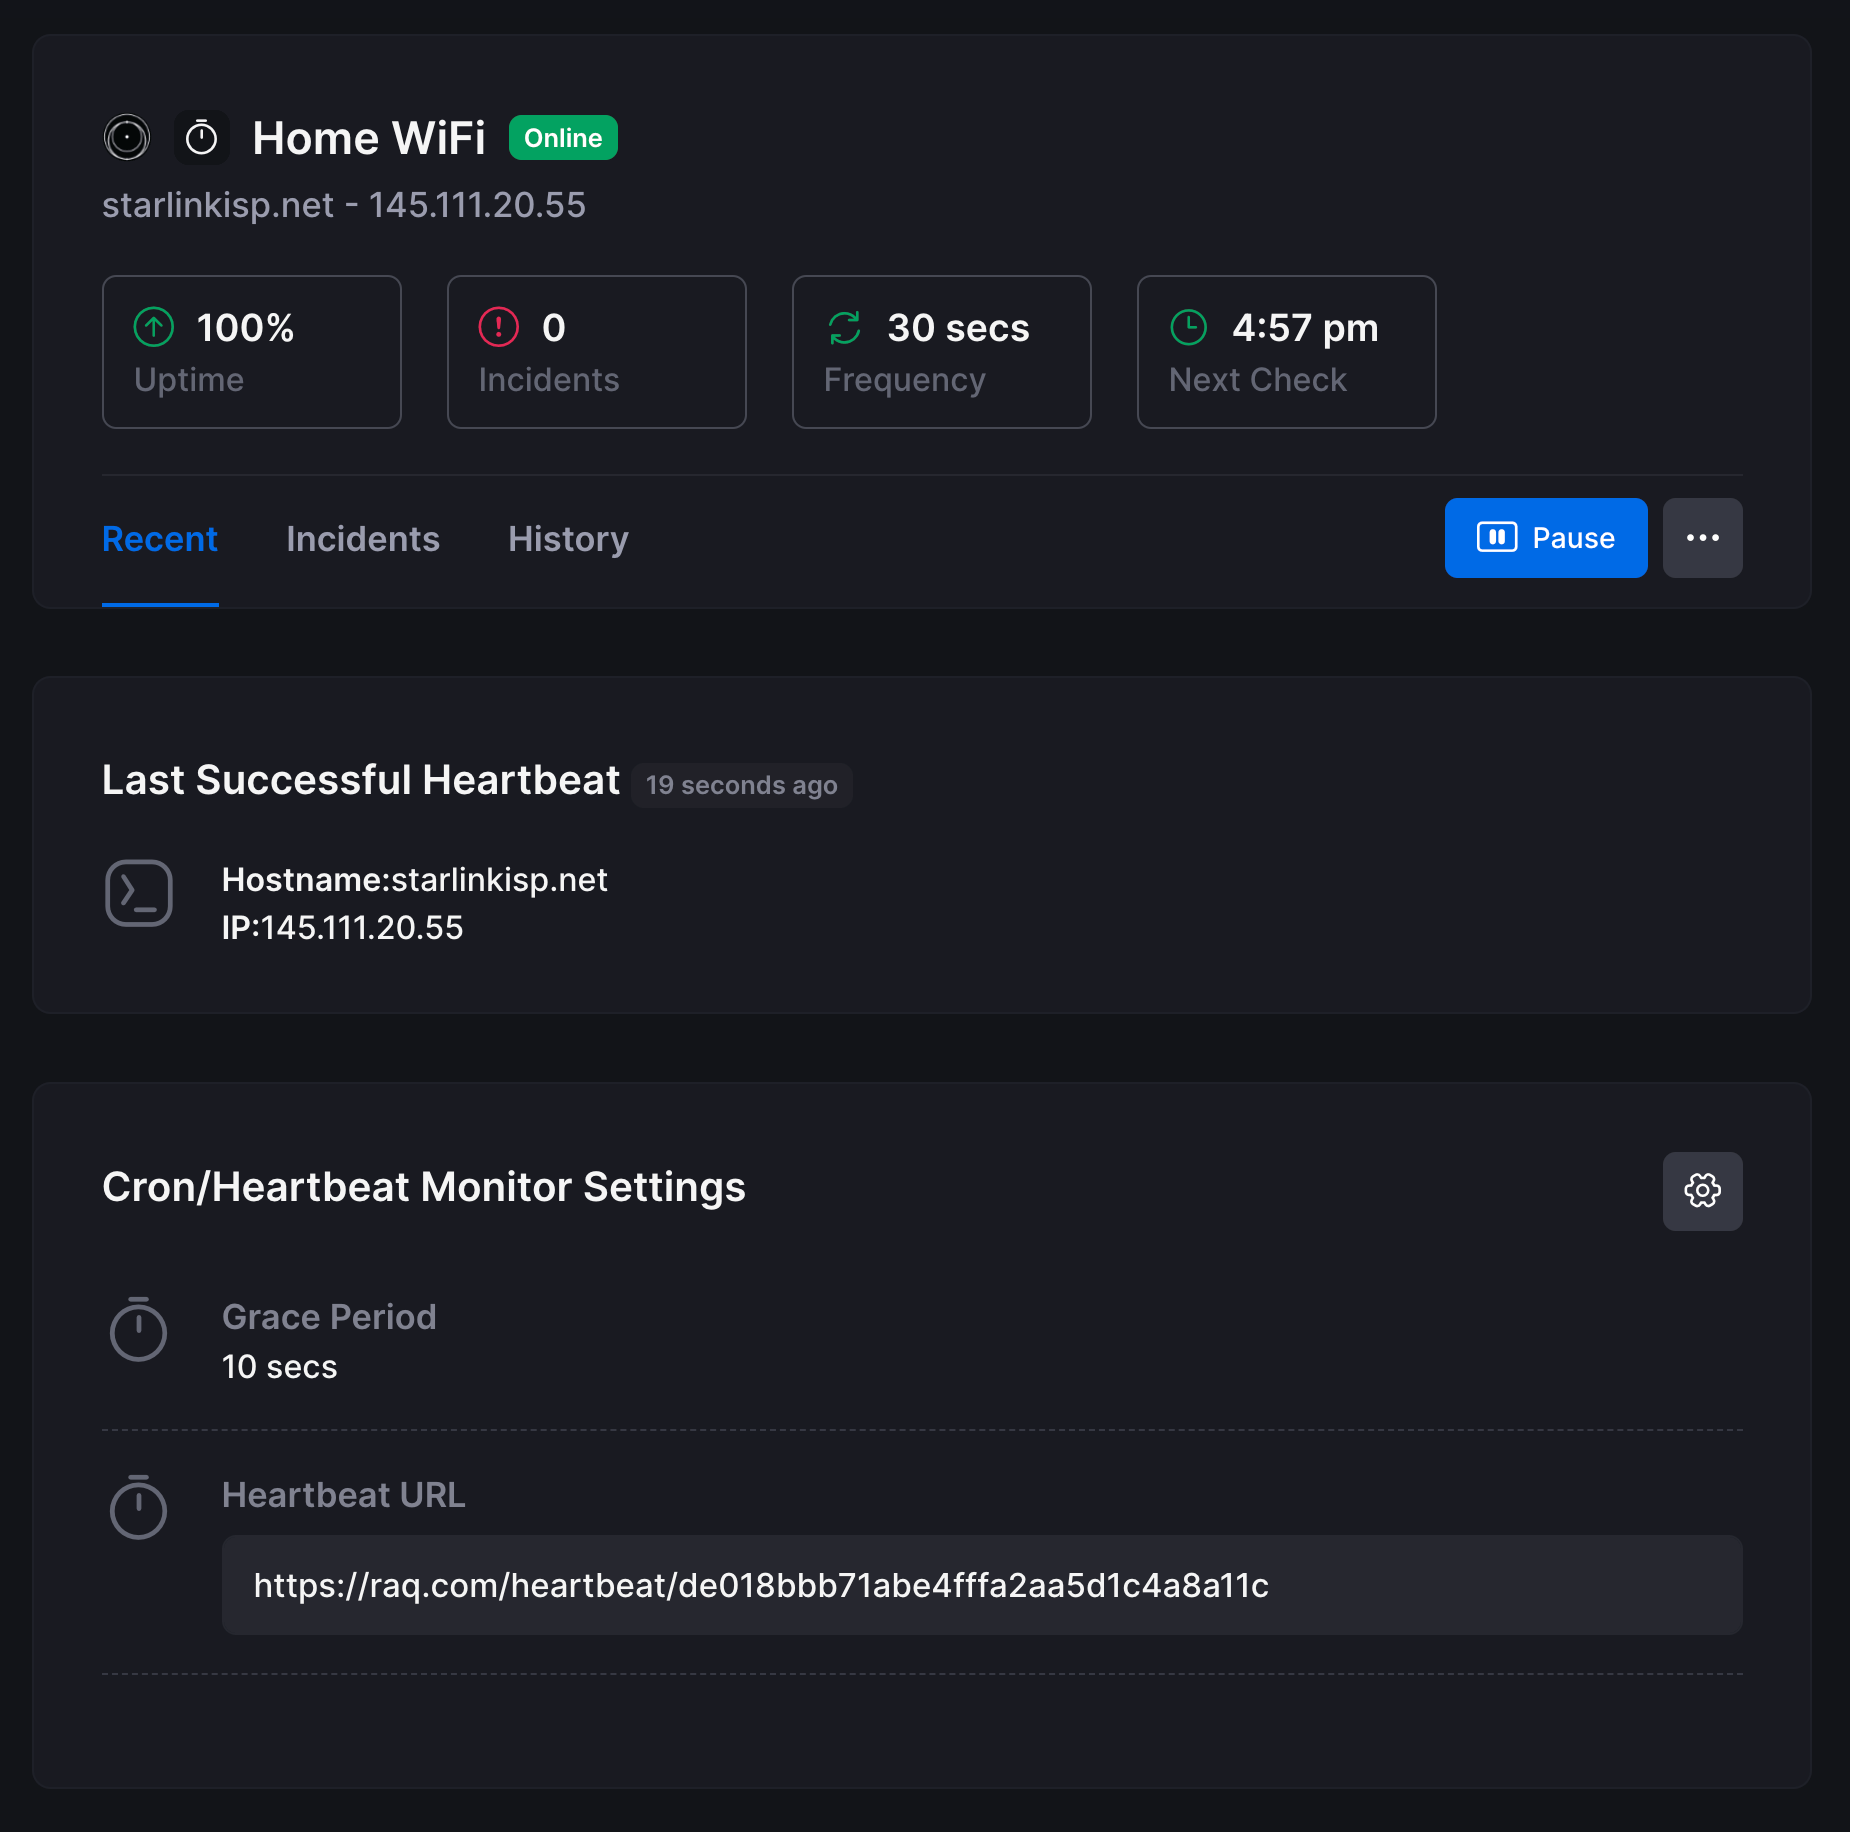
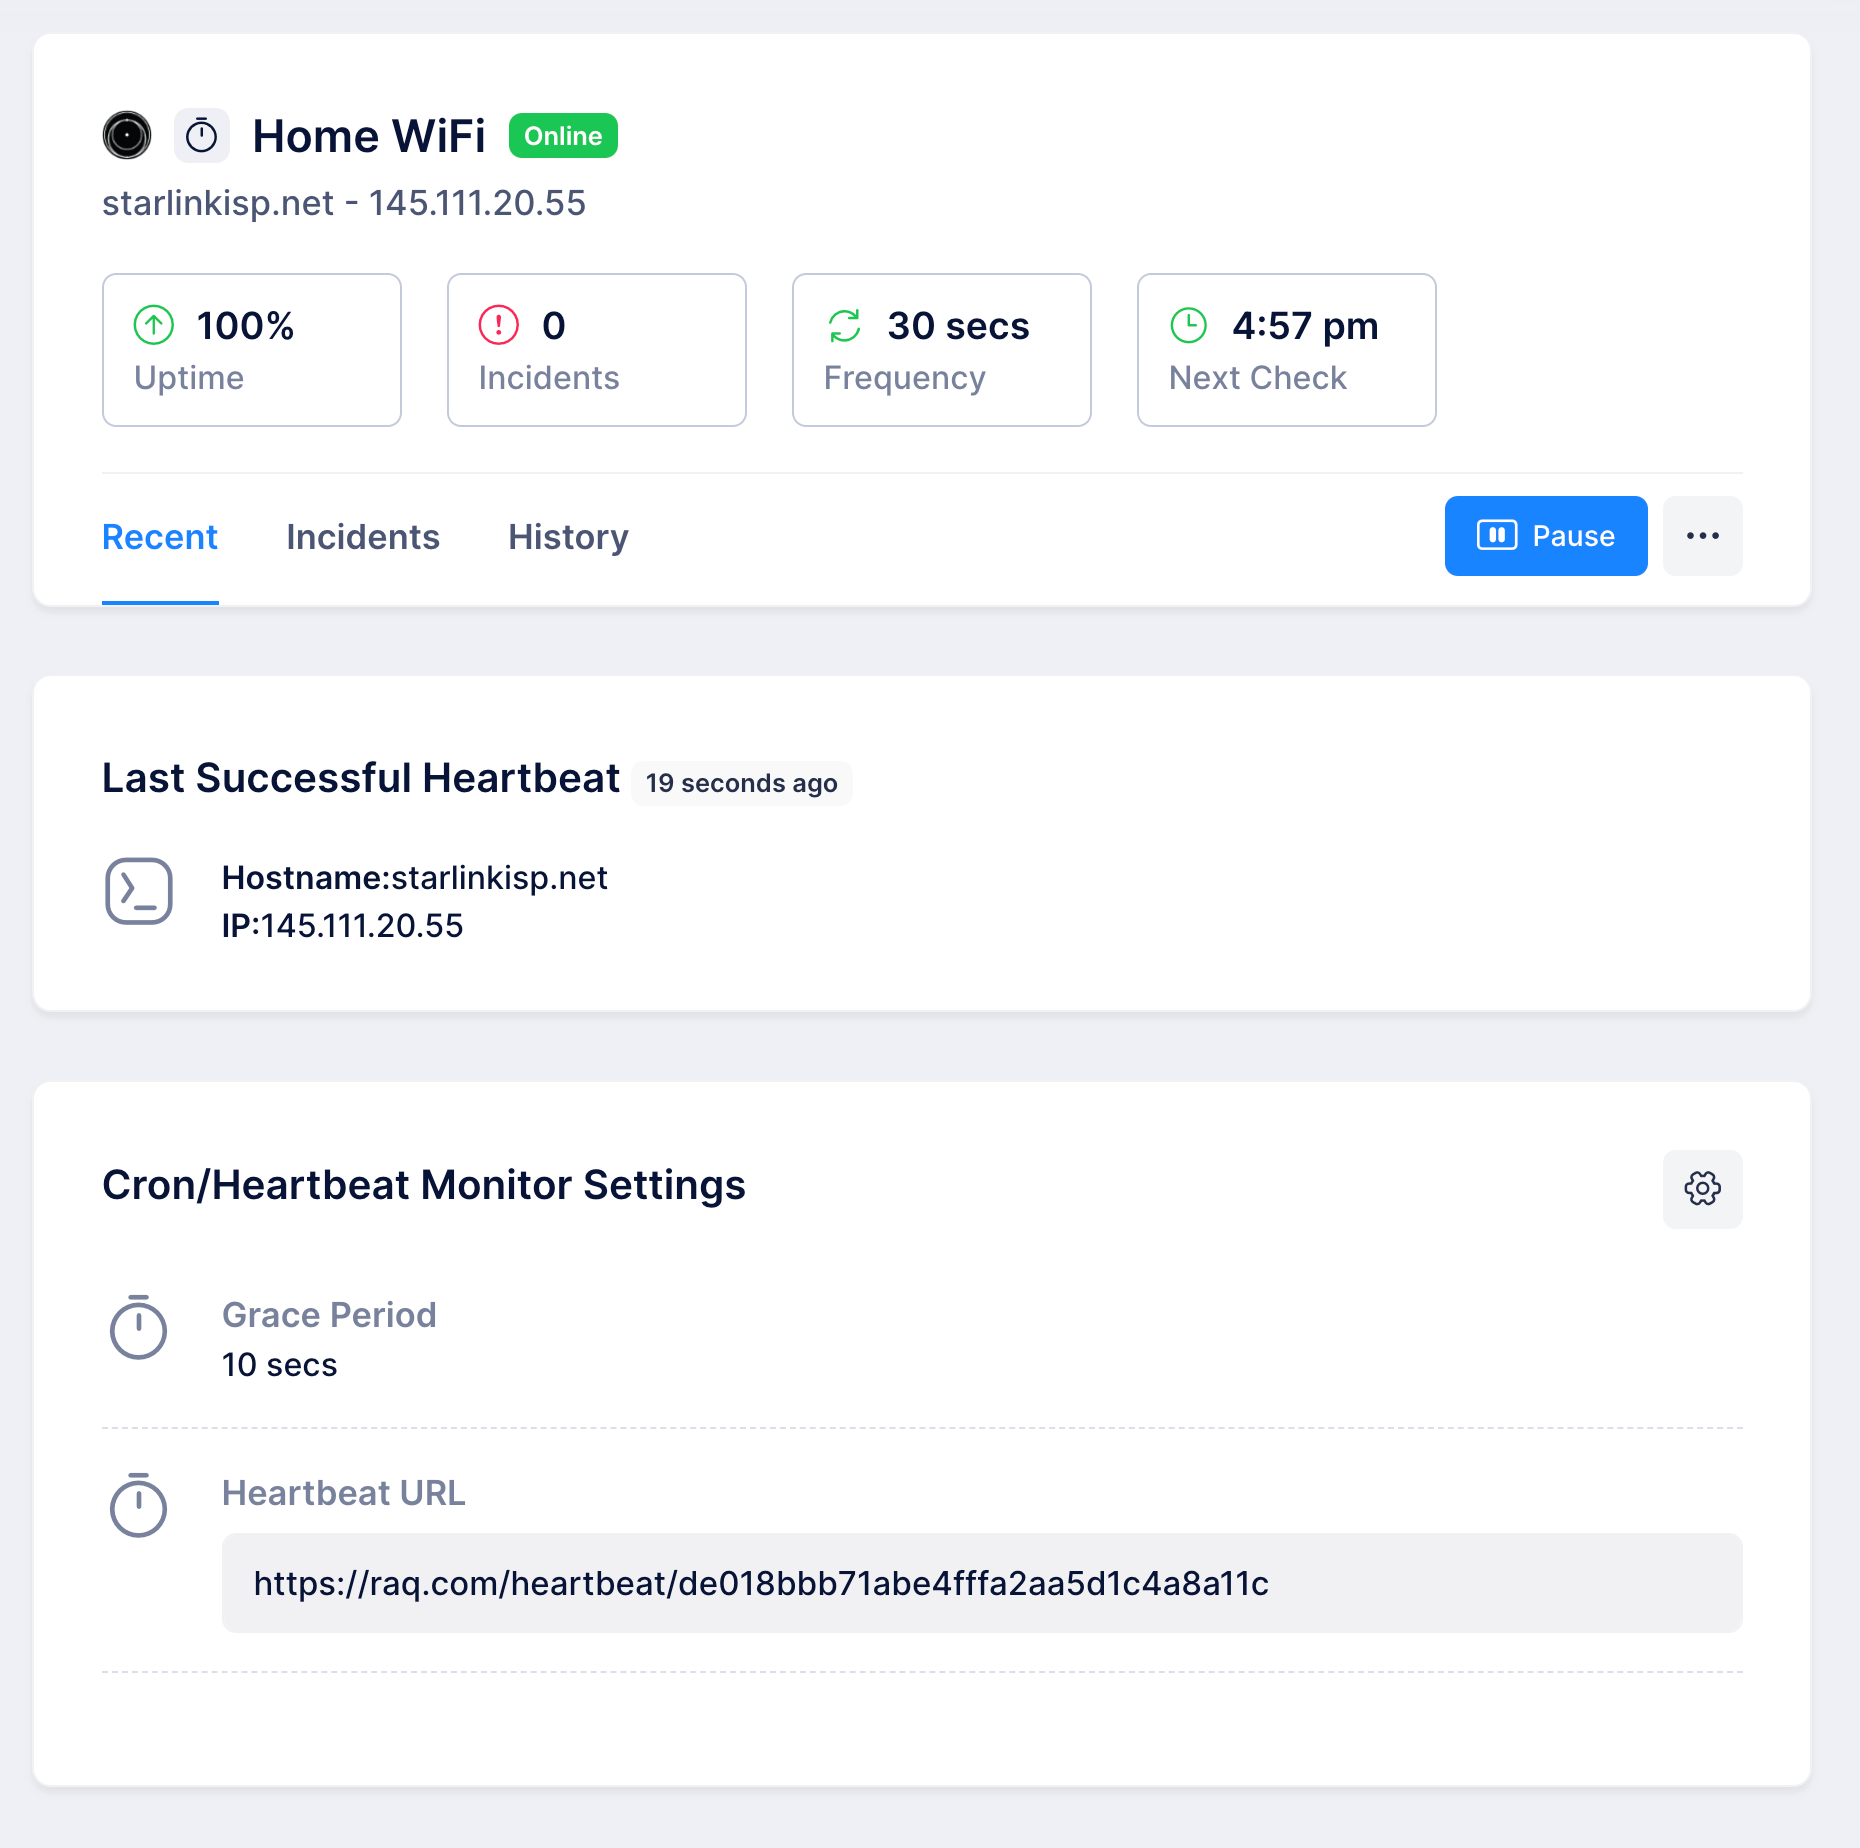
Return to your account dashboard and activate the confirmation button. You should now observe a "Last Successful Heartbeat" timestamp.
System Verification and Operational Guidelines
Your monitoring system is now operational, providing near-instantaneous notifications for power or WiFi disruptions. You can configure additional notification channels including email, SMS, Telegram, Slack, and Discord. To verify the system's functionality, simply disconnect power from one of the Raspberry Pi units.
Interpreting alerts: If both Heartbeat monitors cease simultaneously, it indicates an internet connectivity issue. If only the power monitor is affected while WiFi remains operational, it signifies a localized power outage.
To uninstall the monitoring service from a Raspberry Pi, execute the following command:
sudo systemctl stop pingraqcom.service && sudo systemctl disable pingraqcom.service && sudo rm /etc/systemd/system/pingraqcom.service && sudo systemctl daemon-reload